How We Install and Repair
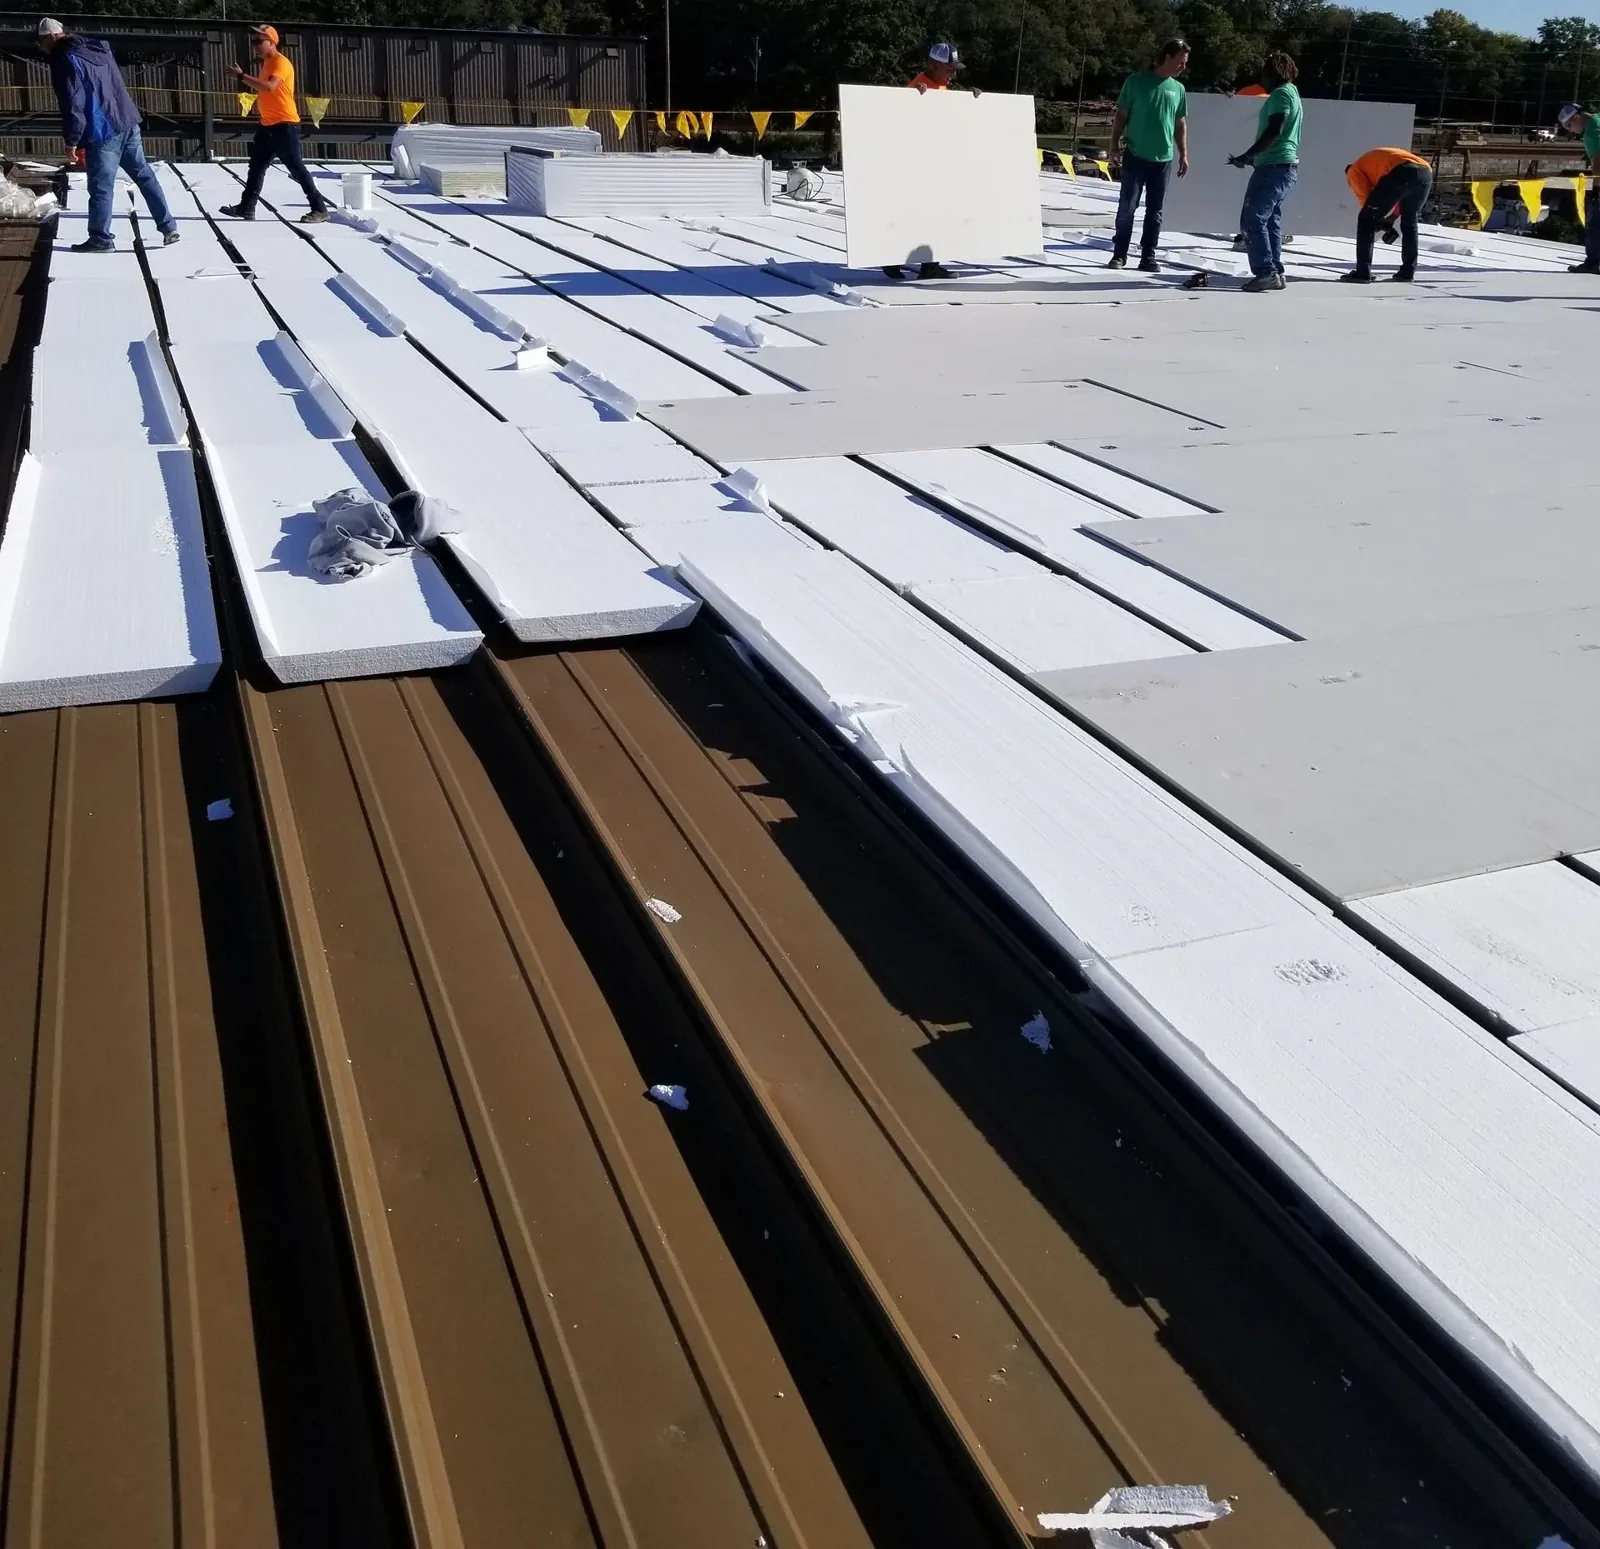
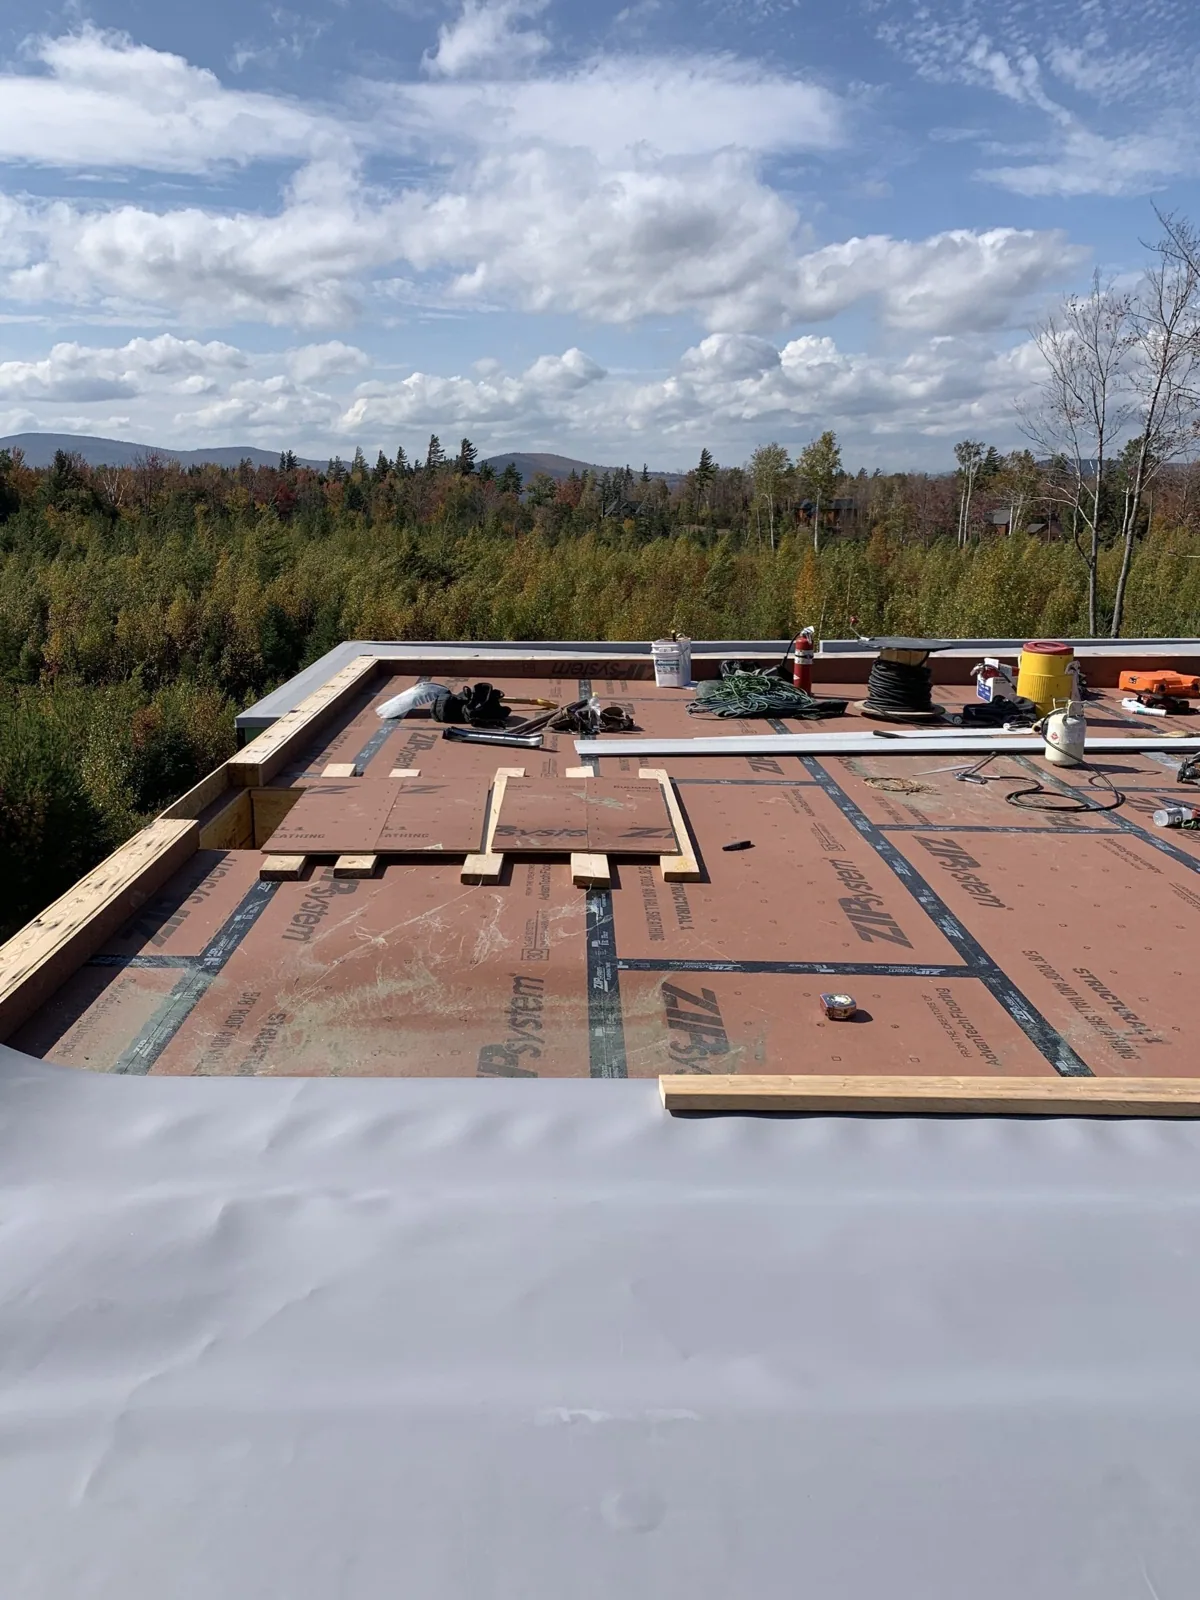
Installation follows the maker's published details and the job's permit documents. That means a proper deck, correct fastening patterns for the wind zone, insulation laid with staggered joints, a cover board where the assembly calls for one and flashings detailed at every wall, curb and penetration.
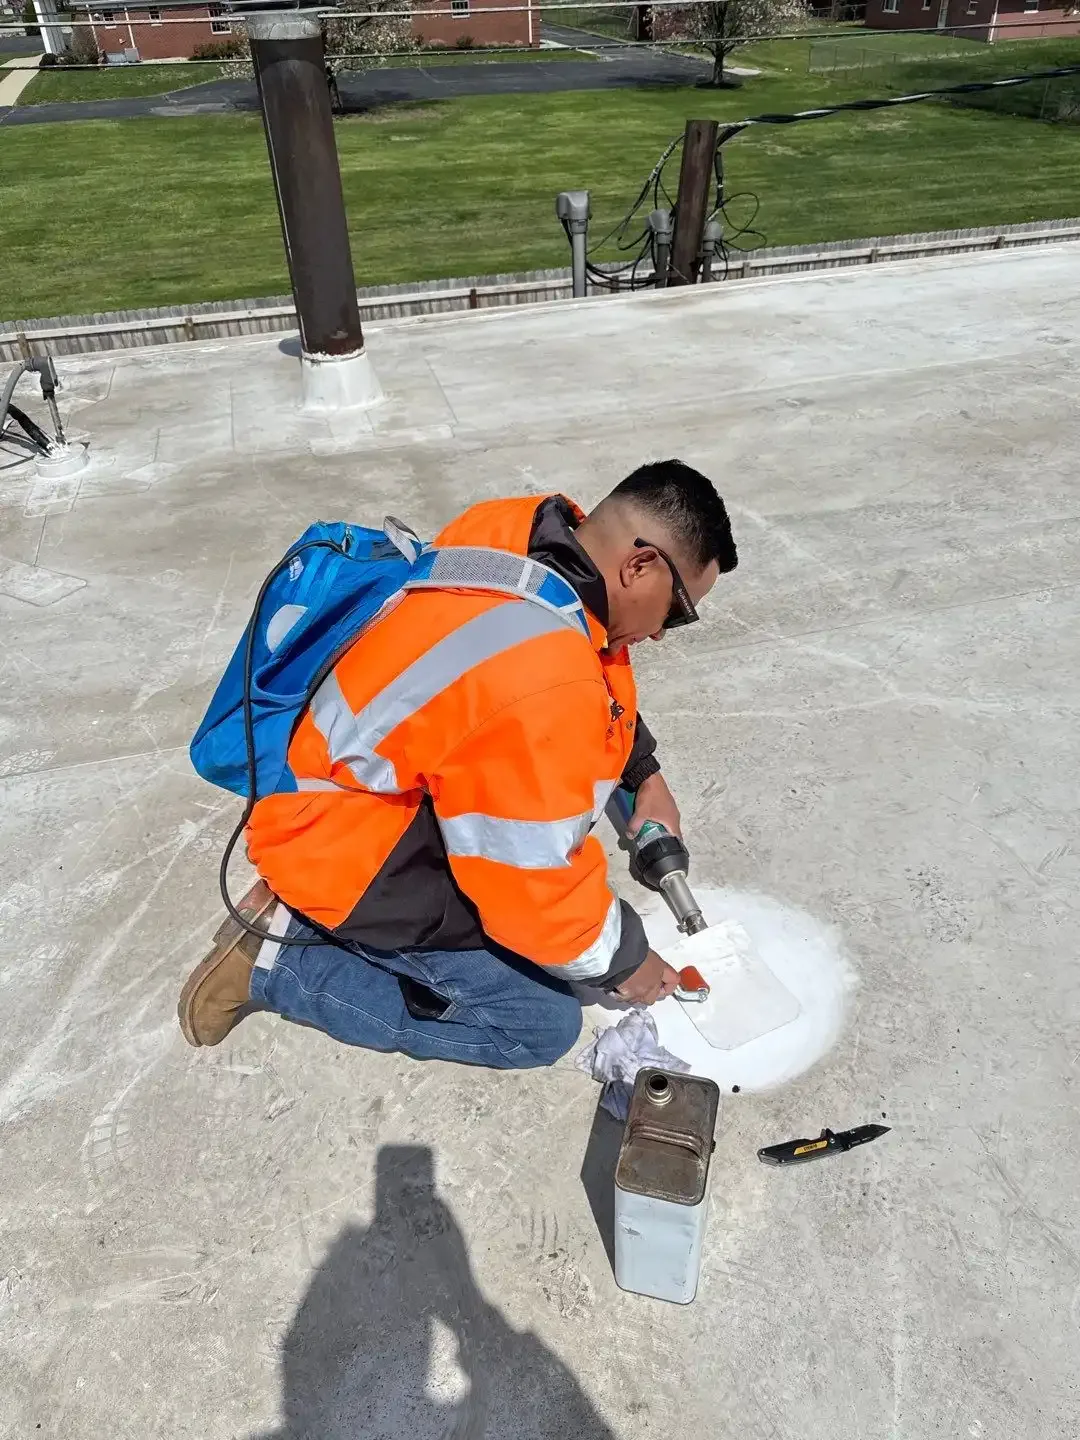
Repair work starts with finding the real cause. Where a seam has opened, we clean, prime if the material requires it and weld or re-lay the seam. Where insulation is wet, we cut it out and replace it with matching material. Where a flashing has pulled away, we rebuild it with the right termination. Each repair is photographed and logged, so the next walk can check it.
When the roof is nearing the end of its life, a recover over dry insulation can avoid tear-off, and we price it next to full replacement.
Quality control on site is simple and strict. Welds are probed along their full length, laps are rolled, adhesives are applied at the right rate and weather limits are respected. A crew that stops for rain or wind produces a better roof than one that pushes through. The details at edges and penetrations get extra attention, since that is where roofs of this class tend to open first.
Edge and corner details in a large field deserve a second look at every visit: perimeter uplift is highest there, and a roof that is sound across the middle can still be losing its edge fasteners. We test a sample of perimeter fasteners and record the result with the section number.